Organic Gardening Articles
Best Vegetables That Grow in Shade
Colleen Vanderlinden

Best Organic Pest Control
Barbara Pleasant
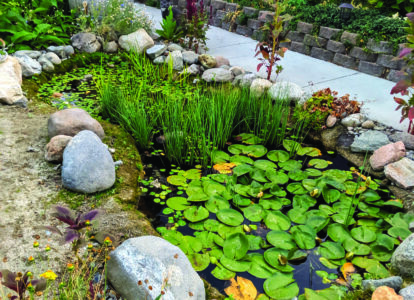
Build a Backyard Wildlife Pond
Valarie Rider

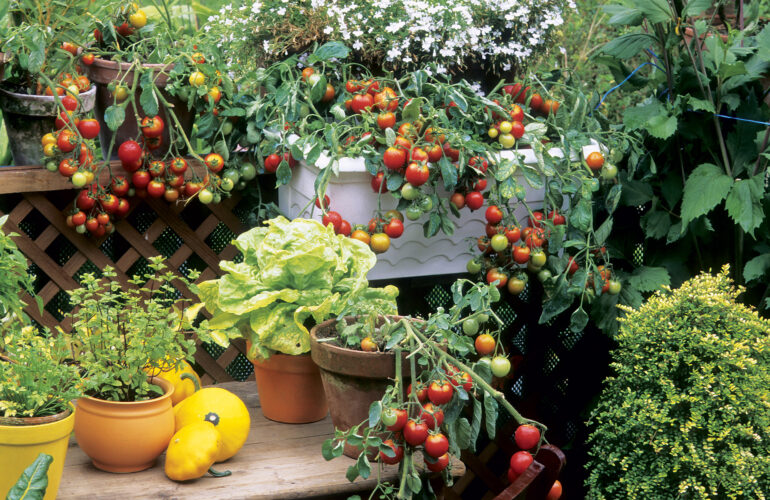
Best Vegetables for Container Gardening
Jessica Walliser
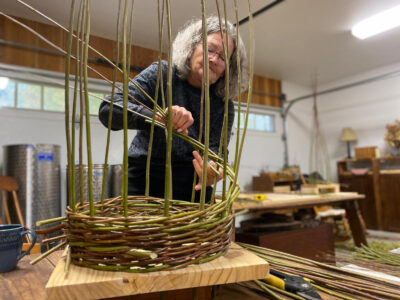
How to Make a Willow Obelisk
Rozina Kanchwala

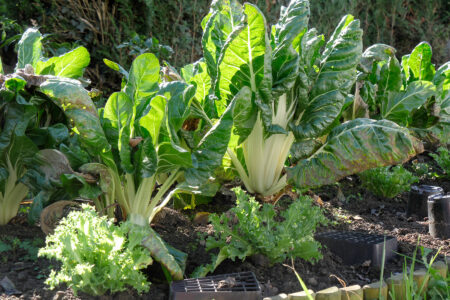
Grow a Modern Victory Garden
Wren Everett

Growing Morel Mushrooms at Home
Erin Hamilton

Soil Microbes & Symbiotic Relationship in Plants
Robert Turner
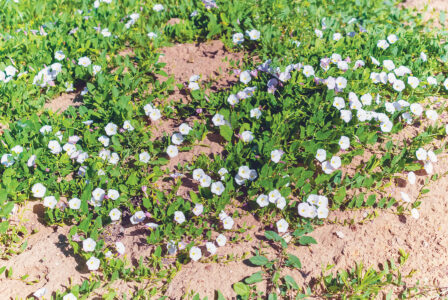
How to Get Rid of Bindweed Organically
Kristina Seleshanko
What Is Mulch Used for?
Barbara Pleasant
Milpa Agriculture Techniques for the Modern Garden
Reader Tips
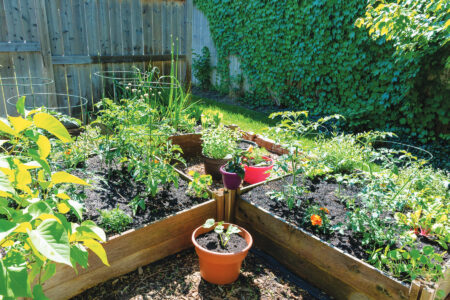
Vegetable Landscaping: 100 Sq Ft Gardening
Rosalind Creasy With Cathy Wilkinson Barash
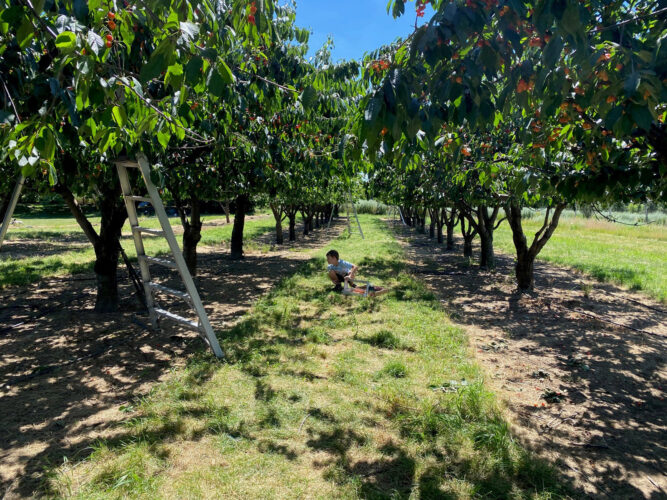
Backyard Groceries
MOTHER EARTH NEWS Editors
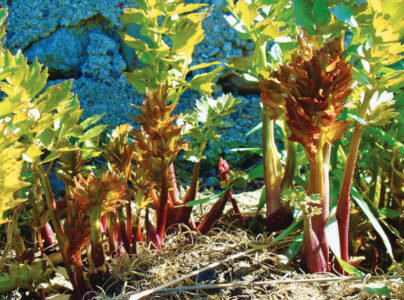
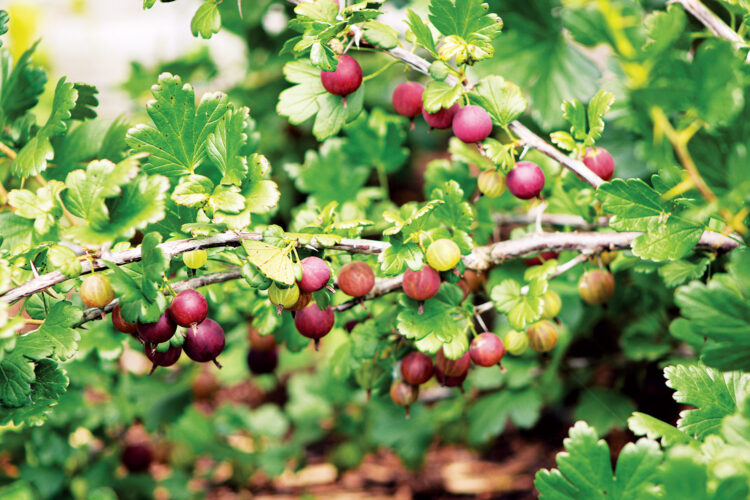
Productive Backyard Perennials
Reader Tips
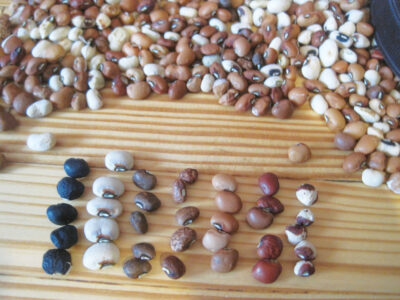
Modern Landrace Gardening
Wren Everett

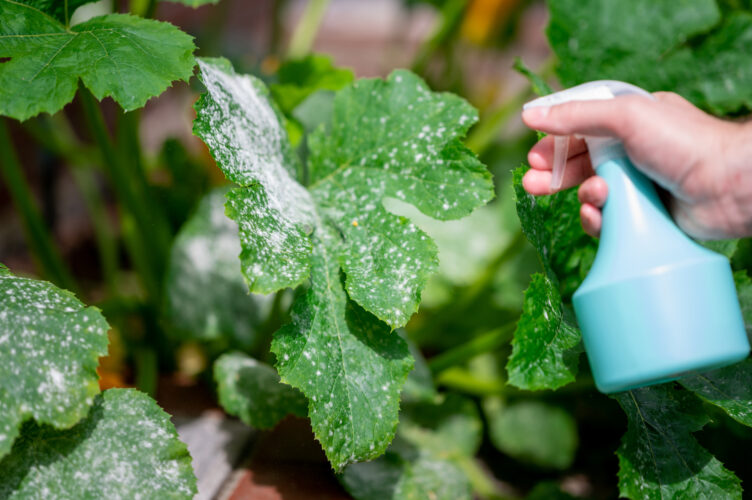
White Mildew on Plants
Barbara Pleasant
Heavy Metals That are Bad for Plants
Robert Pavlis
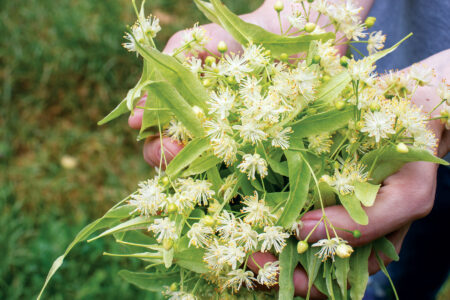
Can You Eat Tree Leaves?
Bevin Cohen

Build a DIY U-Shaped Raised Garden Bed
Sara Bendrick
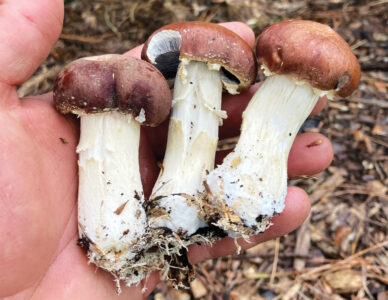
Wine Caps Mushrooms
Erin Hamilton


Popular Now

How to Build a Natural Swimming Pool
Build a swimming pool without relying on manufactured materials and chemical additives. Information on pool zoning, natural filtration, and algae control.

Easy Camping Meals for Large Groups
Learn how to cook easy camping meals for large groups, perfect for hiking, camping, or on-the-go, including recipes for granola pancakes and more!

How to Keep Deer From Eating Plants
Maintain your garden aesthetic and learn how to keep deer from eating plants by replacing bulky fence posts with an invisible deer fence.

Join Mother Earth News


Become a Member of Mother Earth News Today!
Harness the Power of Self-Sufficiency One New Skill at A Time
It’s never been easier to pick up new skills to boost your independence and keep more money in your wallet while you’re at it. Let Mother Earth News show you how with hundreds of online learning videos, live Q&A sessions, and more for just $3.33/month!
- Online video learning library, featuring 600+ videos with more added every month
- Admission to all online video workshops, including expert interviews and live Q&As
- A year of Mother Earth News magazine, backed by 50+ years of trusted DIY guidance
- Bonus digital subscription — access new issues anywhere life takes you
- Everyday member discounts on eco-friendly products in the Mother Earth News Store
- Unrestricted access to online content — members get to view the latest articles, recipes, and project ideas before non-members can

Canadian Members • International Members
Canadian membership: 1 year (includes postage & GST)

Subtotal
$0.00
Membership Subtotal
$0.00
Total savings
$0.00
Shipping and taxes calculated at checkout.
or