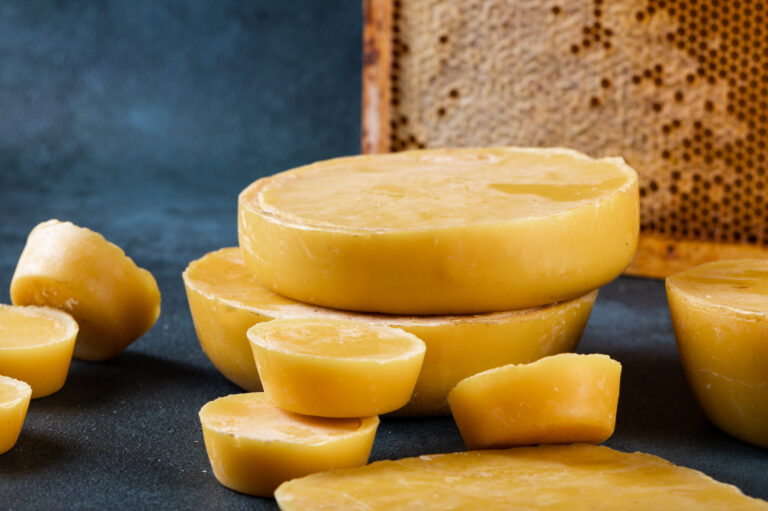
As the beekeeping season comes to a close and my hives need less of my time, I’m confronted with the jars and bags and racks and bowls of beeswax all over my house patiently awaiting my attention. There are a million methods for all things beekeeping out there but I’d like to share this very simple method of rendering beeswax that will take you from sticky mess to wonderfully fragrant disks of clean beeswax ready for your crafts and beauty products while costing very little of your time and precious energy. And best of all, there’s no waste and your bees will actually benefit from it!
Beeswax Rendering Equipment
- Some type of plastic or metal grate that will fit inside of an empty super. It should have spaces big enough for a bee to crawl through but not big enough for chunks of wax to fall through.
- A cheap double boiler (I found two pots for $2.00 at the thrift store that worked perfectly)
- A small plastic, metal or glass container to pour the melted wax into
- A cheesecloth and rubber band
Note: This equipment should be items you don’t care about or use for anything else as beeswax is nearly impossible to clean off. You’re going to want this equipment to be used exclusively for wax processing (hence the thrift store recommendation).

How to Render Beeswax: Part One
- Grab all of your wax capping and other still sticky wax, your grate, and your empty super, take them outside to your beehive (I like to suit up for this) and remove the outer cover on your hive.
- Make sure that your inner cover is the kind that has a hole in the top. Place empty super on top of inner cover and then place the grate on top of inner cover inside the empty super. Now spread your sticky wax out on top of the grate. Place your outer cover back on top to close up and if you have a bee escape hole in your inner cover it’s probably a good idea to plug it up with grass cork or something else to discourage robbers.
If you don’t have an inner cover with a hole in it, you can simply remove it as well and set the grate and super directly on top of the frames and then place your inner cover on top of the empty super followed by your outer cover.
Congratulations, you’re half way done. When you come back in a day or two, you will find that the bees have completely cleaned every scrap of honey off of the wax and left you with a beeswax sculpture that’s pretty amazing. The absolute best part though is that the bees have saved you a lot of time cleaning all of that honey and instead of it going down the drain, they get to add it back to their winter stores.


How to Render Beeswax: Part Two
- In a double boiler on low heat add about an inch of water and then start adding your wax. As the wax melts down you will be able to add more. You might be able to get it all in there or you may have to do more than one batch. You don’t want it more than 3/4 full of hot wax. DO NOT WALK AWAY! Wax is extremely flammable and it also makes a very difficult mess to clean if it boils over.
- When the wax is completely melted you will see that there is still quite a bit of debris that you want to get rid of so just remove it from the heat and let it cool a bit but not to the point that it starts to solidify again.
- Fold your cheesecloth a couple of times so that it’s about 4 layers thick and place it over the top of whatever container you’re going to let the wax solidify in. You can even use one of those round, plastic yogurt containers. Secure the cheesecloth with a rubber band making sure it’s sagging just a bit in the middle.
- Pour your slightly cooled wax through the cheesecloth into the container, water and all, and leave it until the wax is solid and cool.
- Use a butter knife or something similar to get your wax disk or block out of its container leaving the water behind. When it’s completely dry, store in an airtight container or plastic bag.
All MOTHER EARTH NEWS community bloggers have agreed to follow our Blogging Best Practices, and they are responsible for the accuracy of their posts. To learn more about the author of this post, click on the byline link at the top of the page.