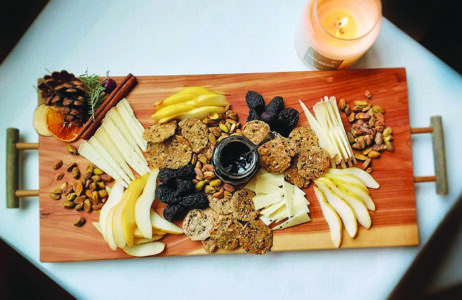
Follow adventures in farmstead cheesemaking and learn to make a Crottin de Chavignol recipe from goat milk right from the family farm to inspire and inform more goat milk recipes.
This recipe is based on the French cheese Crottin de Chavignol. I adore this cheese when it’s aged 4 to 6 weeks. This recipe was developed using raw goat milk, which is what I use. You may have to make adjustments if using pasteurized milk or sheep milk. It can also be made with cow milk. I’ve found that the process outlined below works best when you start your batch of cheese in the evening.
Ingredients
- warm milk
- mesophilic-style bacteria culture
- Geotrichum candidum bacteria culture
- rennet
- salt
- extra herbs or ash coatings if desired
Directions
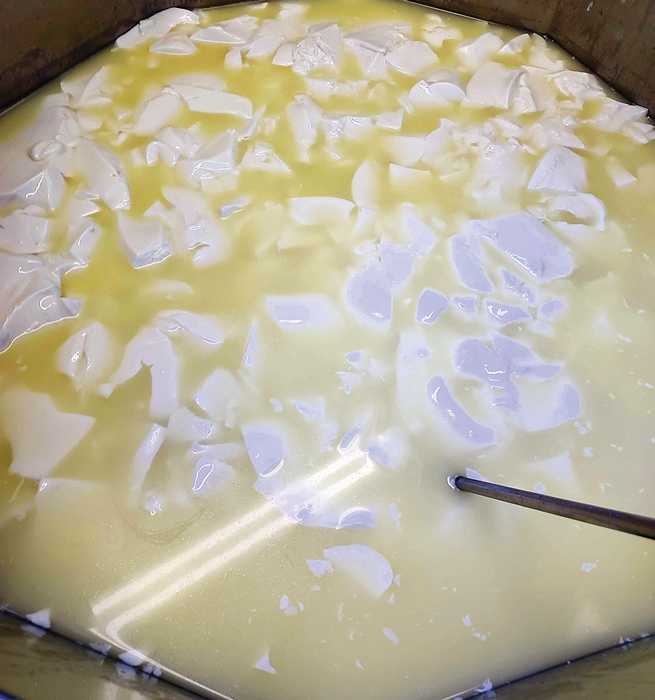
- Phase 1: Make a Batch of Chèvre Warm milk to 84 to 86 F. (Or, use warm milk after milking.)
- Add a mesophilic-style bacteria culture. I used the Choozit MA4000 series of culture, sourced from Dairy Connection. You can replace that with Flora Danica or any culture mix designed for fresh cheeses. Use 1/16 teaspoons per gallon.
- Add a Geotrichum candidum bacteria culture. Several varieties are available, but any should work fine. Use at a rate of about 1/16 teaspoon per 2 gallons of milk.
- Stir milk and allow the bacterial cultures to rehydrate (about 5 minutes).
- Add rennet. Use 2 to 4 drops of a double-strength rennet per gallon (double the amount for single-strength rennet).
- Gently stir milk to evenly distribute rennet. Let sit undisturbed for 12 to 14 hours. Allow the temperature to decrease naturally to room temperature. I prefer the temperature to drop as low as 68 to 76 F. During summer months, place in a cool room (such as a basement); in winter, wrap it in a towel or place it in a warmer room.
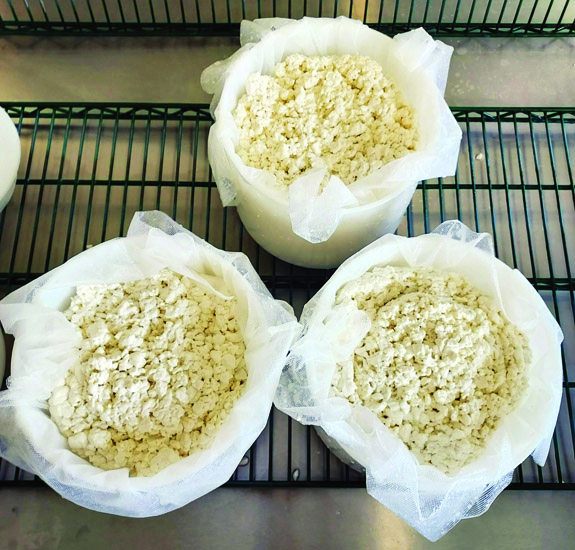
- After 12 to 14 hours, drain the curd. Either hang the curd in a cheesecloth or (my preferred method) drain in basket forms. Drain for about 24 hours. The curd should have a firm but pliable texture.
- Phase 2: Shaping and Aging the Cheese Dump all the curd into a large bowl (do this in stages, depending upon the size of your bowl and pounds of cheese made). Using very clean hands or a spoon, evenly distribute any wet or dry spots to create a consistent level of moisture. The curd should be creamy and consistent.
- Pack curd into small crottin or pyramid-shaped forms. I prefer each form to weigh about 1 pound before salting. Using a different size of form may result in a wheel that ages differently than what’s intended in this recipe.
- Salt only the top of each crottin form with 1/2 teaspoon of salt per form. Allow cheese to drain at room temperature for 12 hours.
- Carefully remove cheese from the form and gently distribute 1 teaspoon of salt evenly on the remaining sides of the cheese. The cheese is delicate at this point. If a chunk falls off, gently press it back into the wheel. This would also be the time to add any extra herbs or ash coatings desired (i.e., cracked black pepper, dried nettle leaves, ash, etc.). Place the wheels back into the forms. Allow to drain for 24 hours at room temperature.
- Flip wheels again, and place back in forms. You may be able to see and smell the first signs of Geotrichum growth on the wheels at this point. The Geotrichum should look cream-colored or off-white and smell slightly fruity or yeasty. Place the wheels into your aging space (still in the forms). The aging room should be at 50 to 55 F and around 75 to 85 percent humidity. If your space runs dry, place the wheels in a plastic box and adjust the lid to control the moisture level.
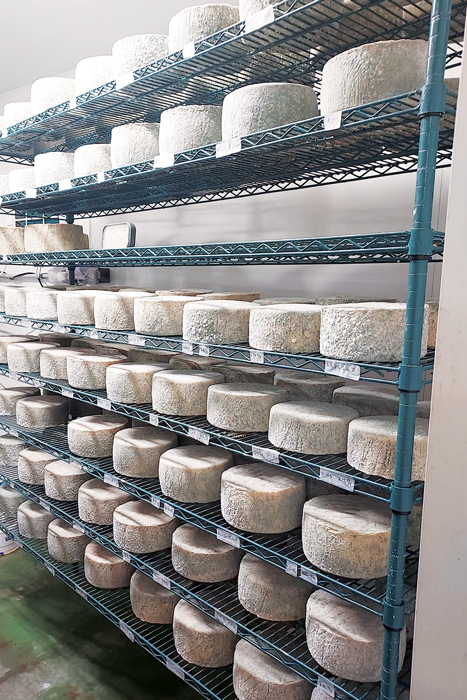
- Continue to flip the cheese daily and allow it to drain in the forms until it feels firm and is cohesive, approximately 2 to 3 more days. Avoid keeping it in the forms for longer than that, as you may end up tearing the delicate growth of Geotrichum as you handle it. Place on a cheese mat and continue to flip daily until they’ve been in the aging room for about 1 week.
- Keep flipping frequently (every 2 to 3 days) to avoid the cheese sticking to the cheese mat. Make sure your aging space gets some fresh airflow by opening it up daily. The skin will begin to wrinkle, which is distinctive of a Geotrichum rind. There should be a very “cream line” beneath the wrinkled exterior, but the cheese won’t become squishy like a brie-style cheese. Instead, it will lose moisture and become firmer as it ages.
- You may eat this cheese at any time, but I find it to be best at 4 to 6 weeks. You may also wrap it in cheese paper and place in the fridge at any time after the rind has formed. This will slow down the aging and the blue mold growth on the rind. Blue molds don’t indicate spoilage, but are a natural stage of rind development in a natural rind cheese. The rind may become undesirable to you if too much blue takes over, so play around with when you wrap the cheese and when you eat it, to attain the desired flavor profile. Enjoy!
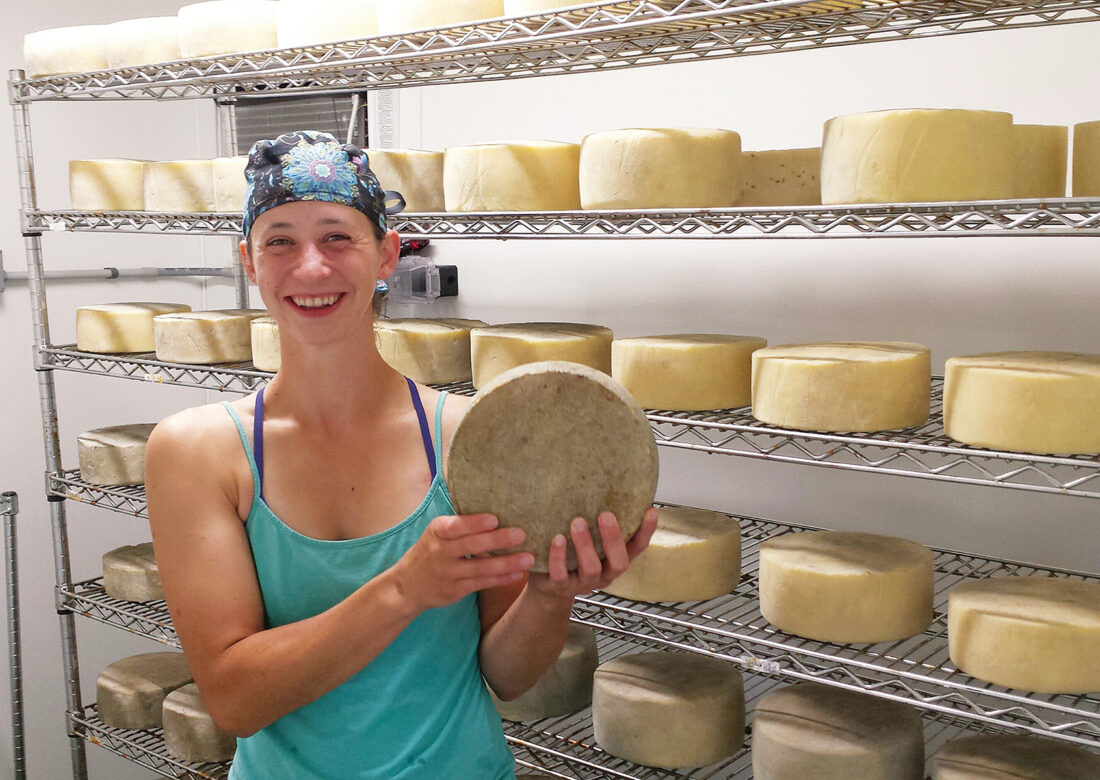
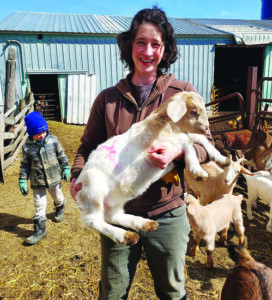
During the milking season, I wake up, roll out of bed, and go into the barn, coffee cup in hand and sleep still in my eyes. As I move through morning chores, the rising sun peeks over the horizon. I often stop and marvel at its beauty and wonder how in the world I ended up on this small farm, wearing the many hats of mother, goat farmer, and farmstead creamery owner.
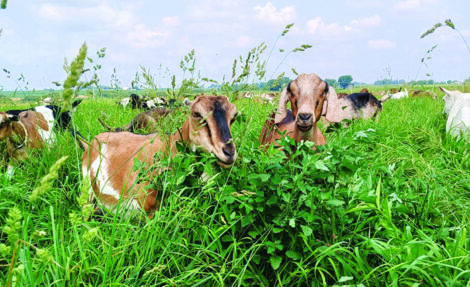
I’ve been running Capra Nera Creamery, a small farmstead goat dairy in southeast Minnesota, for 10 seasons now. My herd consists of 10 meat goat nannies and 35 crossbred dairy does. I milk the dairy goats seasonally and produce a variety of aged, raw-milk goat cheeses. I’m married to a dairy farmer who milks 200-plus cows on a farm down the road, and we have three children.
There’s no one “perfect” way to become a farmstead cheesemaker. I’ve met people who’ve formally studied and apprenticed their way into cheesemaking. I’ve met many more who unintentionally stumbled into the hobby or profession – usually by inheriting their children’s 4-H goat herd.
My own journey to cheesemaking began with one goat: Blossom. When I was 12 years old, I convinced my parents to let me enter a 4-H essay contest to win a free goat. I won and brought home a pretty, brown Nubian doe. Goats multiply quickly. Blossom gave me several doe kids, which in turn produced more doe kids.
Soon, the goats were providing us with a surfeit of fresh milk to drink. My mom, in addition to being a dairy farmer, is quite the homesteader. She knew how to grow abundant gardens and orchards, as well as can to preserve all the produce. How hard could it be to start making goat cheese too?
She helped me gather the recipes and resources needed to make my first batches of goat cheese from the overabundance of milk. The worst that came of a dud batch – of which there were plenty – was that the chickens got a treat. In short, it was the perfect situation for learning the basics of cheesemaking. A few years and hundreds of batches of mozzarella, chèvre, and ricotta later, a three-month-old wheel of my cheddar won the 4-H foods and nutrition project. I’d caught the cheesemaking bug.
Going to college in the big city (the University of Minnesota in Minneapolis, Minnesota) meant living away from my beloved goats. But it didn’t stop me from diving deeper into the artisan cheese world. I purchased tidbits of expensive cheeses at the “fancy” cheese counters in the Twin Cities, and I read all the books and magazines about cheese that I could get my hands on.
Spring break during my sophomore year was spent in Burlington, Vermont, attending classes at the Vermont Institute for Artisan Cheese. This coursework upgraded my understanding of the science that happens in the cheese vat. Combined with the hands-on experience I’d had at home, this formal coursework created a strong foundation of cheesemaking knowledge that would serve me well in the future.
The next year, I spent five months studying in Perugia, Italy, at a school for foreigners. This was followed by a summer working on Italian farms through the World Wide Opportunities on Organic Farms program (WWOOF). I’d already toured enough cathedrals to last me a lifetime – this farm girl needed to get out into the countryside! The highlight of that summer was making cheese at three different farmstead creameries: one in the Alps of Valle d’Aosta, another in Sicily, and the third near Lake Como.
What stood out in these Italian creameries was the focus on tradition. It was fascinating to experience the practice of transhumance (the movement of livestock and herders between pastures in winter and summer), and to taste a region’s special cheese variety, often made with animal rennet. Experiencing an unvarnished version of this good-food-loving culture deeply influenced my appreciation for high-quality, fresh foods produced on small farms with community support.
What struck me most was seeing farmers making a living from their small parcels of land. From what I observed, small farms seemed to be the status quo rather than the exception. Adding value to their products (through cheesemaking, cured meats, agritourism, etc.) was a common denominator among many of these farms. I returned home, hopeful that I could find a way to do the same.
I went back to my parents’ farm and worked part-time for them while also tending to my goat herd and making more cheese. I purchased a used 30-gallon vat and played mad scientist with milk in the basement for two years. A used wine refrigerator served me well as an aging cave. I still remember my best batch of cheese from that time: a Morbier-style wheel with a layer of goat milk curd, a layer of cow milk curd, and a line of ash between them.
During this time, my now-husband and I met – in the barn, of all places. His friends had teased him for years that he needed to get out of the barn to meet a girl. It turns out he just hadn’t walked into the right barn until then. He purchased a half-dozen cows from my parents … and a few years later, he purchased a 12-acre farm site near his own dairy farm so my goats and I could move in. “The most expensive cows he’ll ever buy!” my parents still say with a wink.
The small farm included a traditional red barn and a cow parlor built in the 1970s. The barn became goat housing. The parlor, after extensive interior renovations, became the goat parlor and creamery. It was split in two, creating a six-stall goat parlor and a new milk house. The old milk house got a coat of epoxy on the floor and became the new cheesemaking room and aging room.
Since I grew up on a Grade A dairy farm, I was familiar with regulations regarding dairy production. Still, the licensing process was daunting. My first steps were to consult my local Minnesota Department of Agriculture dairy inspector, and to purchase a copy of Gianaclis Caldwell’s book The Small-Scale Cheese Business. These resources helped me understand the Grade “A” Pasteurized Milk Ordinance (PMO), a U.S. Food and Drug Administration document that details the rules for starting and operating a dairy and creamery. It was also helpful to work with plumbers, electricians, and pipeline installers with past experience on dairy facilities.
In spring of 2016, I was approved to start making cheese. For the first year, I milked 11 goats, twice daily. I made cheese three days a week, and I went to my part-time job at a local market-garden farm two days a week. Since I was only making raw-milk cheeses, regulations dictated that I had to wait a minimum of 60 days before I could sell a single piece. I nervously waited the two months to taste a sample of my first batch. To my surprise, it was more than just edible – it was delicious!
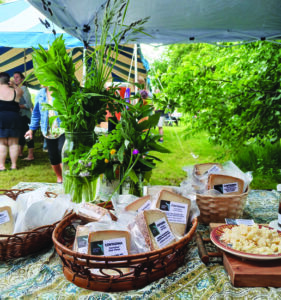
I’d proved that I could raise a few goats and make a little cheese, but I had no idea how to sell and market my cheese. Fortunately, my employers at the time were selling their organic veggies to restaurants and retailers in the area. They shared my cheese with their customers and helped me secure my first sales, for which I’ll forever be grateful.
For the first couple of years, the business was relatively easy and exciting. Newspapers sent journalists to interview me, and food businesses reached out, interested in carrying my products. I connected with a distributor who sold my cheese to a high-end grocery store chain in the Twin Cities. On the farm, my small herd was healthy and productive. Success felt inevitable.
I soon discovered that my way of farming wasn’t scalable. I was putting in a tremendous number of hours to produce very little. In my third season of cheesemaking, my husband and I had our first child. Simultaneously, I experienced my first-ever terrible kidding season – I lost half of that year’s goat kids to a deadly bout of coccidiosis. And, frankly, not enough cash was coming in.
If I’d started with even a little business experience, I probably could’ve prevented some of the burnout and stress that resulted from that tumultuous year. Instead, I was learning hard lessons on the job. It would take years of improving my systems to sort out the hot mess that I’d suddenly found myself in.
But I didn’t give up – even through financial uncertainty, a global pandemic, and adding two more children to the chaos. When asked, I generally don’t recommend that people go about starting a farmstead creamery the way I did. I should’ve started with more cash. Should’ve waited until my kids were older. Should’ve known more about sales, marketing, and finances.
On the other hand, all of these difficulties have pushed me to learn the skills I needed to make it through yet another season on the farm. For example, I’ve shifted to dam-raising all of my goat kids in order to raise healthier animals with less work. I milk and make cheese for a shorter season – but I end the year with energy left to focus on selling cheese through the busy holiday months. I’ve taken classes on marketing and financial literacy and attended online cheese conventions to continue my cheesemaking education. From my local vet, I’ve learned how to do fecal egg counts to help monitor parasites in my goats.
Yes, it’s amazing that one little brown goat named Blossom led me to all of this. It’s been a wild ride, and not an easy one, but I wouldn’t trade it for the world. I appreciate that my daily commute is a leisurely walk to the barn. And I cherish raising my children on a small farm, much the way I grew up.
But be careful the next time you think about bringing home a goat. Are you ready for the adventures that might follow? Happy cheesemaking!
Katherine Bonow and her herd of happy goats create stunningly delicious, aged, raw goat milk cheeses. The farm and creamery are located in southeast Minnesota, in the gorgeous Driftless Region. You can find Capra Nera Creamery cheeses at local purveyors of fine cheese.
Originally published in the June/July 2026 issue of MOTHER EARTH NEWS and regularly vetted for accuracy.


