Homesteading And Livestock
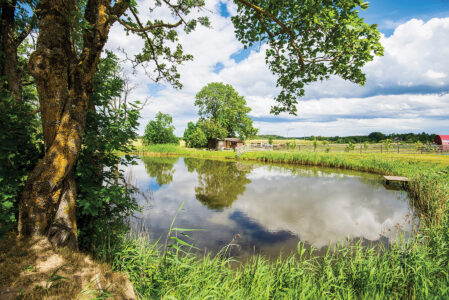
How to Clear Murky Pond Water
Darrell Rhoades
A Practical and Pleasurable Path
MOTHER EARTH NEWS staff
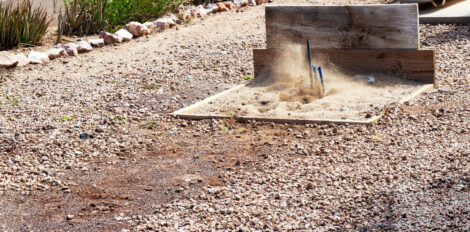
How to Play Horseshoes
Terry Krautwurst

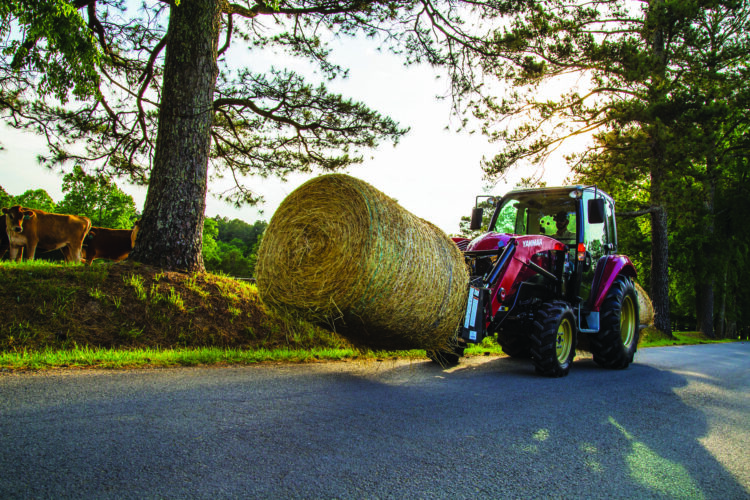
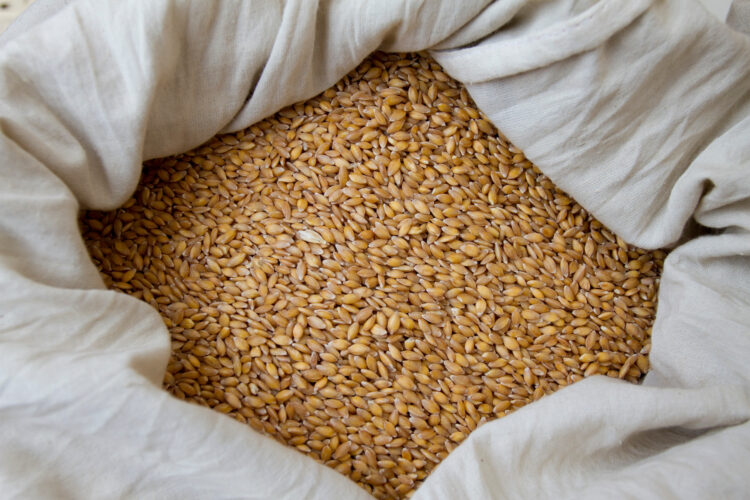
How to Tell When to Cut Hay
Kenny Coogan
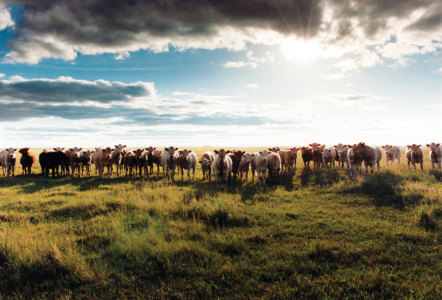
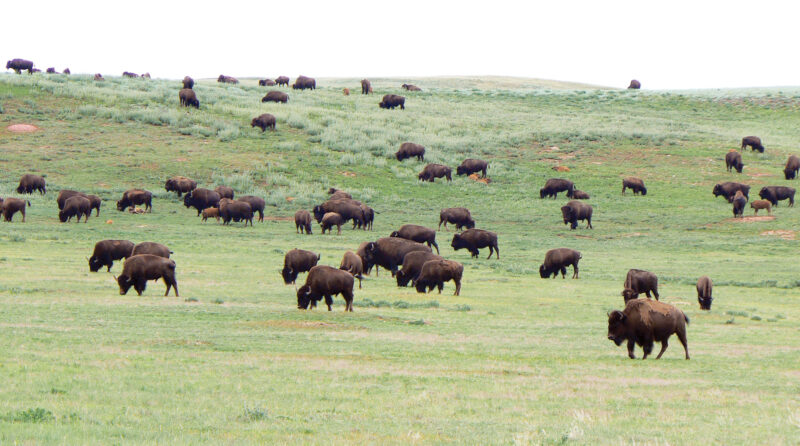
Is Grass-Fed Beef Better?
Richard Manning
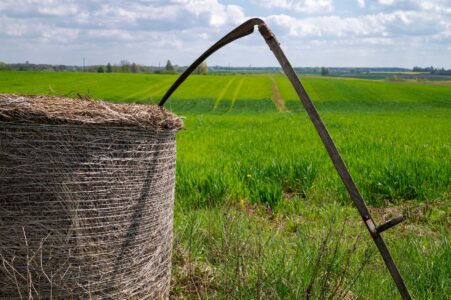
How To Use a Scythe to Cut Grass
Ian Miller
Influence Policy Changes in Your City or State
Russell Mullin, Lisa Kivirist, And Katherine Kelly

How To Redirect Water Runoff To The Garden
Cheryl Long

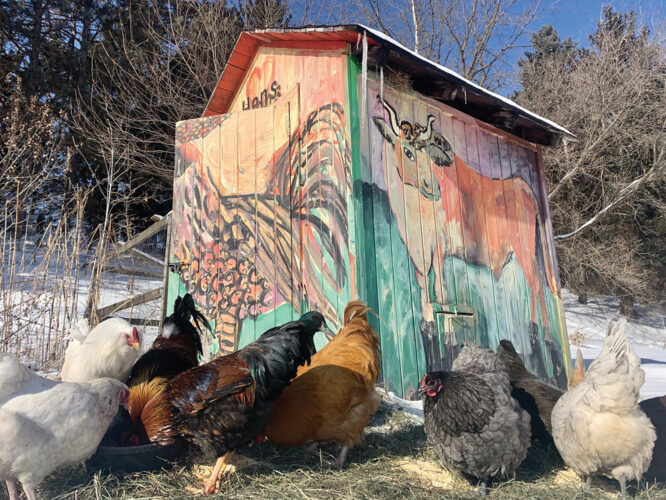
How and When To Butcher Chickens
Sheryl Campbell

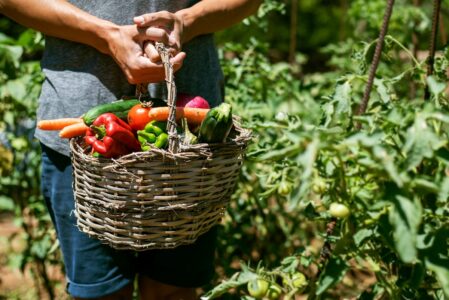
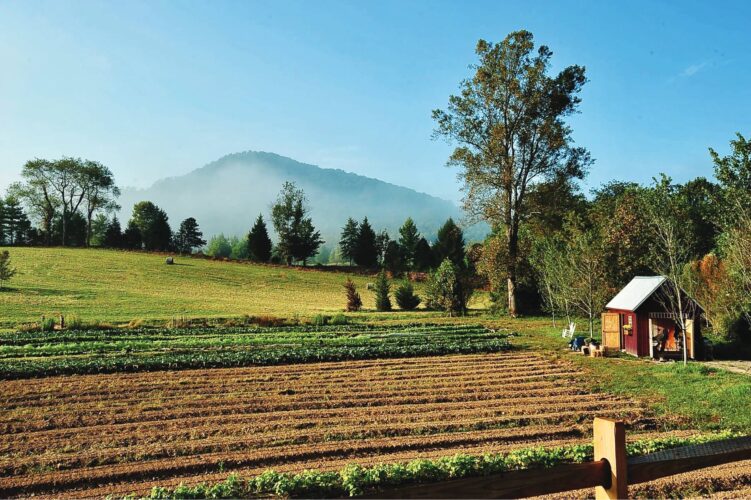
On-Farm Processing
Amyrose Foll
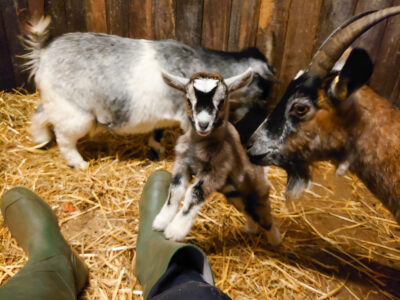
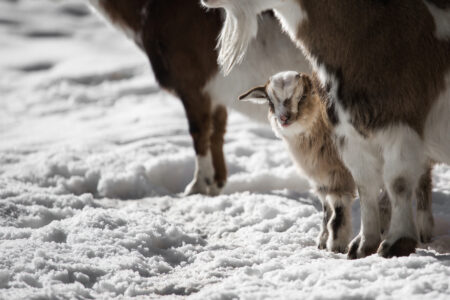
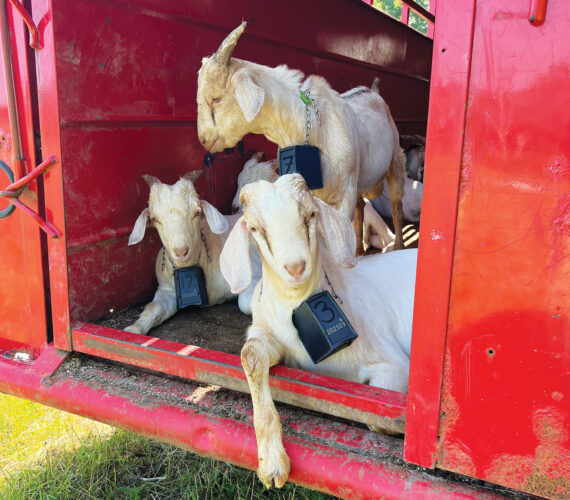
Getting the Kidding Season Started
MOTHER EARTH NEWS staff

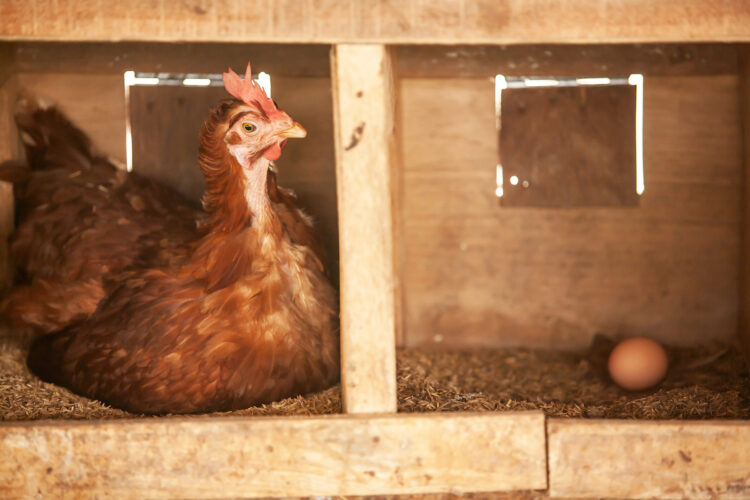
Why Did My Chickens Stop Laying Eggs?
Jennifer Poindexter, Morning Chores
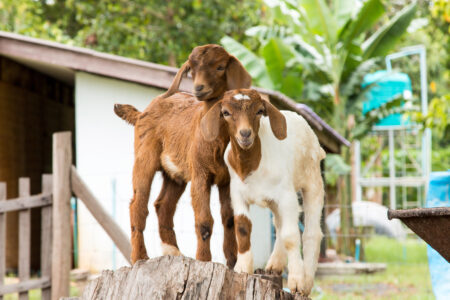
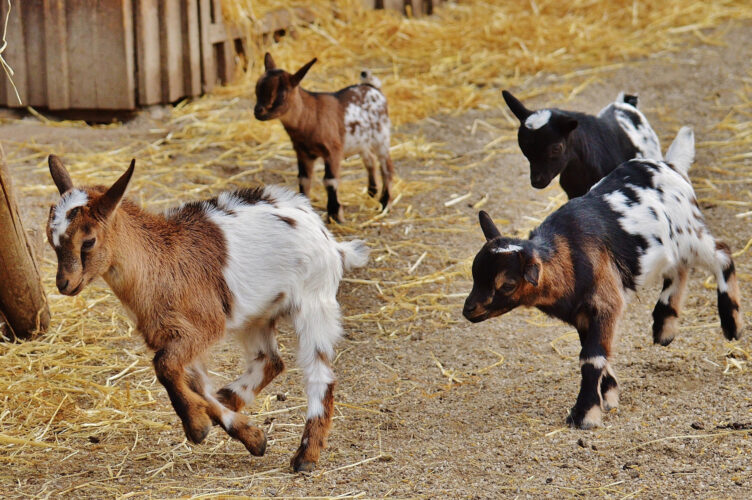
Goat Kid Care
Shelby Devore, Farminence
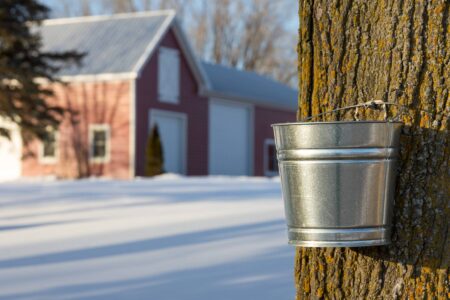
The End of Maple-Tapping Season
Julie Fryer, Maple Tapper

How is Maple Syrup Made?
Stephanie Thurow, Michelle Bruhn

Cotton Patch Geese: Historic Weeder Geese
Tom T. Walker
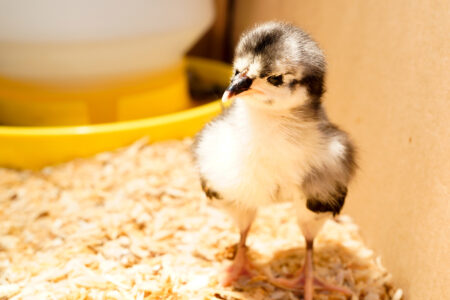
Raising Chicks: Chick Brooder Temperature and Light Requirements
Gail Damerow

Rodenticide Toxicity: How Does Rat Poison Work?
Amelia Eigerman
Dealing With Goats in Cold Weather
Maggie Bonham
65 Tips to Save Money Through Self-Reliance
Kale Roberts


Popular Now

How to Build a Natural Swimming Pool
Build a swimming pool without relying on manufactured materials and chemical additives. Information on pool zoning, natural filtration, and algae control.

How to Make a Hacky Sack
Learn how to make a hacky sack while refreshing worn-out muscles and a tired sense of humor by learning how to play hacky sack with these instructions.

Repel Ticks with This Sulfur Remedy
A tiny dab of sulfur mixed with molasses and taken in early spring will help to repel ticks.

Join Mother Earth News


Become a Member of Mother Earth News Today!
Harness the Power of Self-Sufficiency One New Skill at A Time
It’s never been easier to pick up new skills to boost your independence and keep more money in your wallet while you’re at it. Let Mother Earth News show you how with hundreds of online learning videos, live Q&A sessions, and more for just $3.33/month!
- Online video learning library, featuring 600+ videos with more added every month
- Admission to all online video workshops, including expert interviews and live Q&As
- A year of Mother Earth News magazine, backed by 50+ years of trusted DIY guidance
- Bonus digital subscription — access new issues anywhere life takes you
- Everyday member discounts on eco-friendly products in the Mother Earth News Store
- Unrestricted access to online content — members get to view the latest articles, recipes, and project ideas before non-members can

Canadian Members • International Members
Canadian membership: 1 year (includes postage & GST)

Subtotal
$0.00
Membership Subtotal
$0.00
Total savings
$0.00
Shipping and taxes calculated at checkout.
or