
Photo by GettyImages/sirichai_asawalapsakul
Wormeries use special composting worms to convert kitchen waste into nutrient-rich compost and liquid fertilizer. They’re odorless and take up less space than a traditional compost pile, making them a great composting solution for small gardens or as a complement to your existing compost pile.
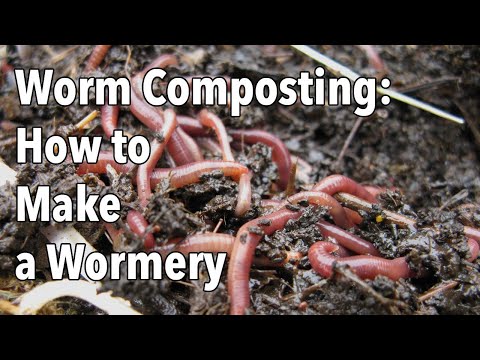
Make a Wormery
We’re creating a wormery with three compartments. The bottom compartment collects the liquid, which can be drained and mixed with water to use as fertilizer. The worms live in the top compartment and this is where you’ll feed them with kitchen scraps. This is also where your compost (worm castings) will be made. The third compartment makes it easier to collect the worm compost without disturbing the worms. Holes in the bottom of the middle and top trays insure that any liquid produced by the worms can drain down into the collection tray at the bottom, and enable worms to migrate up into a new tray once the other is full. A lid prevents the wormery from drying out or flooding with rainwater.
The trays we’re using are 16x20in and just 8in deep. You’ll also need a plastic faucet, a drill and drill bits.
Don’t use worms from the garden as they’re not as good at composting as specific composting worms, which you can order online.
Building Your Wormery
Cut or drill a hole in the bottom tray to closely fit the faucet. Fit it as low as possible in the tray so that all the liquid can be drained off easily. You can raise the wormery up on bricks to make it easier to drain off the liquid if you need to.
Drill quarter-inch holes, spaced two inches apart, across the bottom of the two top trays. Drill a single row of holes near the top of the two trays at the same size and spacing to improve ventilation.
Adding the Worms
Place a three-inch layer of bedding material such as dampened coir fiber or compost in the top compartment. Add your worms, then add a layer of kitchen waste no more than two inches thick. You can also add a layer of burlap on top to keep them snug. Leave the wormery for a week before adding any more food so that the worms can settle into their new home.
Keep your wormery somewhere shady and as close to room temperature as you can. Move the wormery into a garage, outbuilding or utility room for winter to prevent it freezing.
Feeding Your Worms
Add food a little at a time. The worms will digest vegetable peelings and other kitchen scraps, including coffee grounds, but avoid meat or other animal products that may attract flies. Too much citrus peel and alliums like onion and garlic will make conditions too acidic for your worms, so only add small amounts of these. You can use small amounts of weeds and leaves, shredded, non-glossy newspaper, or torn up cardboard.
Once the top tray is full, swap it with the empty middle tray and start filling that instead. The worms will find their way up through the holes to the food, leaving the full tray ready for harvesting. Repeat any time the active tray is full.
Using Worm Compost and Feed
Worm compost makes a great soil conditioner, or include it in your potting mix for a nutritional boost.
Drain any liquid from the bottom tray whenever it collects and mix one part of the liquid into ten parts water to water onto your plants as a nutritious liquid fertilizer.
Get More Tips with These Great Gardening Resources
Our popular Vegetable Garden Planner can help you map out your garden design, space crops, know when to plant which crops in your exact location, and much more.
Need crop-specific growing information? Browse our Crops at a Glance Guide for advice on planting and caring for dozens of garden crops.
More Videos
Watch more videos on gardening techniques and other self-reliance, DIY topics on our Wiser Living Videos page.


