
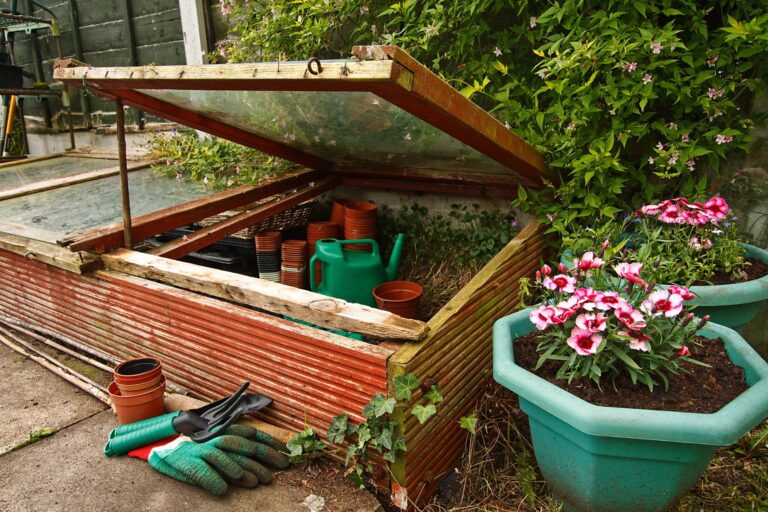
A cold frame is easy to make at home using salvaged windows, wood, strong hinges, some wood screws, and handles if you wish. The only tools required are a drill and a screwdriver.
How to Build a Cold Frame
First source your lid (or lids). An old window or even a shower door will work well. Then cut lengths of lumber to size to match your lid. You can choose how tall you’d like your cold frame to be, but make sure it’s one board higher at the back than at the front to enable the frame to soak up maximum sunlight.
- Cut one of the side boards diagonally along its length to give you two triangular boards, one for each side, to match the slope from back to front.
- Screw all of the boards to four corner posts that match the height of the front and back boards. You’ll also need two battens to use as props for venting the cold frame on sunny days.
- Screw the side boards to their corner posts, using two screws at each end of every board. Drilling pilot holes before screwing the boards into place makes this easier. Screw the narrow end of the triangular top board on each side down into the board below to fix it into place. Then screw the front and side boards to their battens in exactly the same way.
- Carefully line up the lid or lids with the back of the frame, and screw on your hinges. Longer lids may need several hinges along their length.
- Screw the props that will support the lid into place, making sure they’re just loose enough to swivel up easily. You’ll need a short one on the front and a longer one on the side. You can also screw on some handles if you wish.
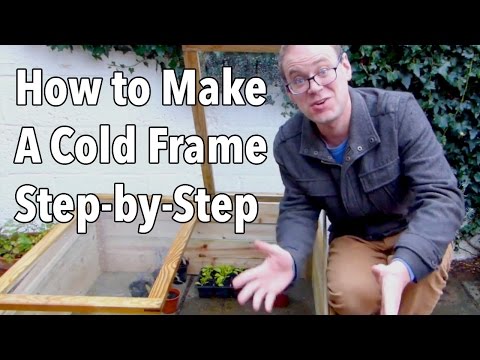
See how to build your own cold frame in this video:
Using a Cold Frame
Cold frames can be sited on soil or on any level surface. They’re great for keeping salads going throughout winter, starting off tender crops, or hardening off indoor-sown plants.
When you click on the selection bar drop-down box in our Garden Planner and select ‘Structures,’ you can choose a cold frame to add to your plan. You can then drop the cold frame over your crops, and their growing season will be automatically adjusted to take into account the protected environment within the cold frame. You can also add other season extenders you may be using such as greenhouses and row covers to your plan.
Get More Tips With These Great Gardening Resources
Our popular Vegetable Garden Planner can help you map out your garden design, space crops, know when to plant which crops in your exact location, and much more.
Need crop-specific growing information? Browse our Crops at a Glance Guide for advice on planting and caring for dozens of garden crops.
More Videos
Watch more videos on gardening techniques and other self-reliance, DIY topics on our Wiser Living Videos page.






