Meet your livestock’s needs on a budget with these sheep housing design ideas to build a DIY sheep barn.
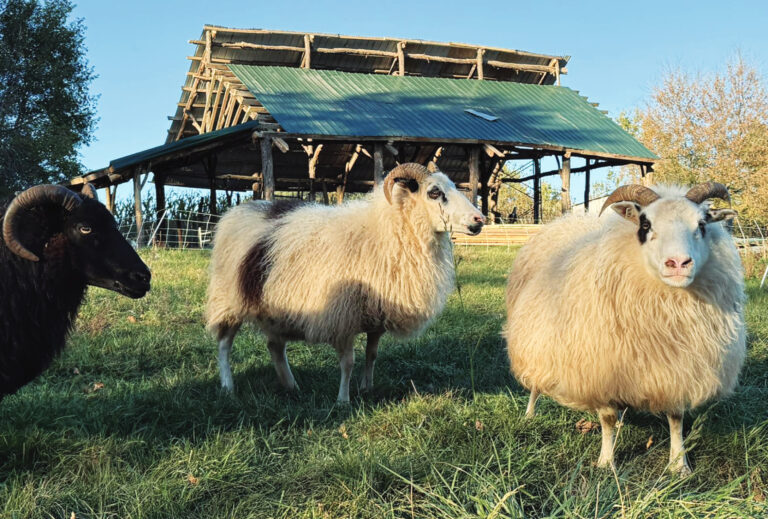
We farm a little over 10 acres of lowland in southwest Wisconsin, on Ho-Chunk lands. We raise and market registered horned Icelandic sheep and sheep products, such as grass-fed lamb, bark-tanned sheepskins, skulls, wool, and live breeding stock. We chose Icelandic sheep because they’re masters of turning sunshine into lamb. They tolerate cold well and have naturally short tails, which (like tail docking) helps prevent flystrike. Because Icelandic sheep breed seasonally, we can reliably run intact rams and ram lambs with the ewes from May through September, which means we don’t have to castrate the ram lambs. We’ve built our farm and homestead from scratch. The following is our story of building a barn for our Icelandic sheep, using local materials, for about $2,500. Creating something so essential with our own hands has been a deeply satisfying experience.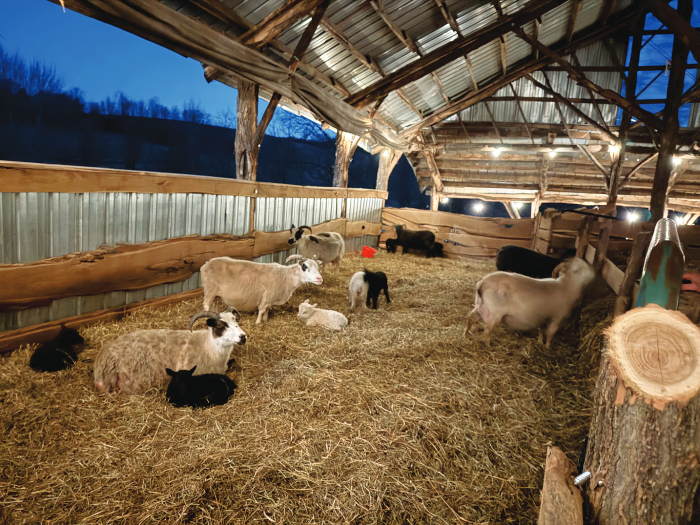
Identify and Plan for Your Needs
Barns should have a purpose. Build your barn to suit your purpose. Ours is raising Icelandic sheep, and many of our design choices were made to accommodate their unique needs and make it easier for us as farmers to meet those needs. Consider the size of your current flock and the maximum size you want in the future. In addition to planning for the sheep’s needs, we also planned to prevent our own burnout. Animal care is challenging. Our design choices will make our work easier and keep potentially stressful seasons (lambing) or tasks (health checks) flowing as smoothly as possible. Our design also helps reduce wear and tear on our bodies. We identified the following key needs as we planned our barn.
- A permanent sheep-handling location. We wanted a livestock scale, counter space, and storage for veterinary supplies, which makes health checks, treatments, and vaccinations easier for one adult to do alone. A good setup reduces stress on both sheep and shepherd. We love data, and this setup allows us to weigh lambs at every health check and adults frequently. Over the winter, we even train ewes that if they stand on the scale, they may find sunflower seeds mixed in with the loose mineral in the feeder installed on the wall! This setup lets us track average gains, which is crucial for informed culling and breeding decisions. A primary goal of our program is to offer lamb meat shares. Tracking weight gains will help us do that correctly and economically.

- Shelter. We needed a shelter that would protect our entire flock – with its fluctuations in head count – from adverse weather conditions, including flooding and hail during severe storms, and below-zero temperatures.
- Spaces to sort and support. We needed multiple pens to divide groups or individuals for breeding, lambing, and handling. In addition to the main barn, we also kept two smaller three-sided sheds that connect to the barnyard alley and to the pasture around the barn. We use these sheds for breeding groups, winter ram housing, and quarantine needs. Breeding pens need to be set up so rams can’t come nose-to-nose, as they’ll inevitably fight and hurt themselves or damage structures. The three different living areas in our barn and sheds allow us to separate groups based on needs, such as age or diet during pregnancy. For example, the barn houses ewes until lambing, and rams are separated from ewes from January to May. Cameras in the lambing areas allow us to monitor ewes and lambs from the house.
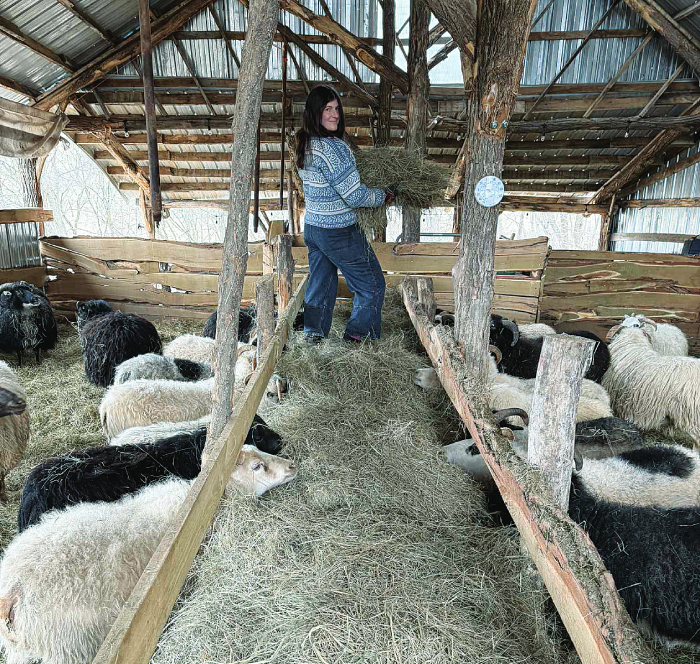
- Efficient feeding. We needed a hay feeder that would prevent sheep from climbing in and soiling hay, which reduces the waste of this expensive commodity. We feed round bales, and, while we already have a hay shed on the farm to store those, we made sure our barn had space to store the large round bale we’re currently feeding from right next to the walk-on feeder. Our sheep feeder is easy to fill, and the rails keep the hay clean.
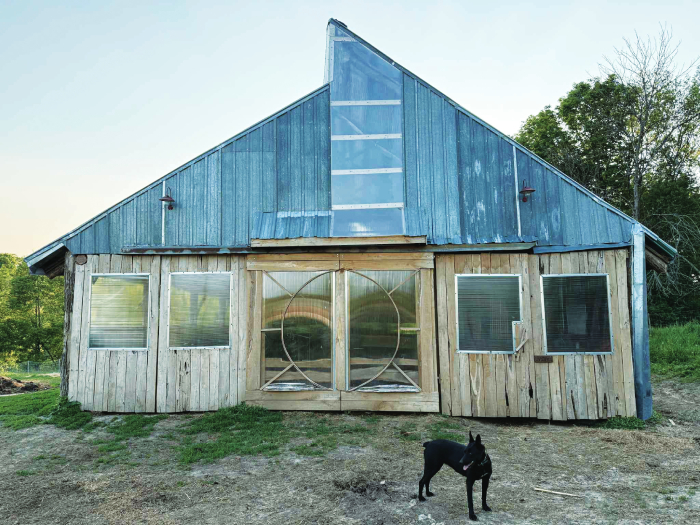
- Ventilation and natural light. Good ventilation is key to reducing respiratory illness from condensation and gases released from the bedding pack, which is the combined manure, urine, and dropped hay that accumulates on the barn floor. The clerestory (high) window on the south side of the barn provides ample natural light year-round.
- Shearing facilities. We needed an area of the barn where the flock can be gathered for shearing that has power and an overhead beam for the shearer to hang his shearing machine. Our shearer likes a space about 10 by 10 feet to work in. Icelandic sheep have dual-coated fleeces that are typically shorn twice a year: in spring and fall. The spring shearing (around March) removes well-worn winter fleece cleanly. The ability to naturally shed wool has been bred out of most sheep breeds and the wool gets quite heavy. This clip is done for the well-being of the sheep. The wool from the spring clip can be used for many purposes, such as garden mulch or fertilizer, felted dryer balls, felted fleece rugs, and more, but it isn’t the ideal clip for making garment yarns.
Over the summer, Icelandic wool can grow up to 11 inches in staple length. In fall (September or October), shepherds wanting to harvest this more premium clip of the year will have lambs and most adults shorn. We prefer the fall shear before hay feeding to reduce vegetable matter in the wool. - Storage and human space. We use the front entry space of the barn to multitask as open round bale storage, divided in half for shearing twice a year, and as a storage area for supplies, including halters, loose mineral, and dog food. This area also has a standing workspace with a solar-powered DIY Bluetooth speaker and USB charger for cellphones, as well as a whiteboard to record information about the flock.
- Predator management. We have two wonderful livestock guardian dogs on duty 24/7 to protect our sheep from predators, such as coyotes, foxes, and stray dogs. Because of this, we didn’t need the barn to be predator-proof. You may need to consider that as you build your perfect barn.
Lessons Learned
After considering all of these needs, we ended up with a barn that measures 50 by 30 feet. The design is inspired by the barns in Iceland. It has two main sheep pens that share a central feeder that we can walk on to fill, and a third pen under the west-facing lean-to roof. Between the two pens in the back is a central “medical pen,” which has a livestock scale and counter space, and next to that are two small lambing jugs. In the front of the barn, we have space for round bale storage and shearing. The long, relatively narrow rows work well for removing bedding with our tractor. The many gates and areas of the barn work as an excellent handling system. This layout optimizes animal flow and reduces the amount of human interference, which is a sign of good, low-stress livestock management. As we designed, built, and now use our barn, here are some key ideas we hope will help as you plan and build your own barn.
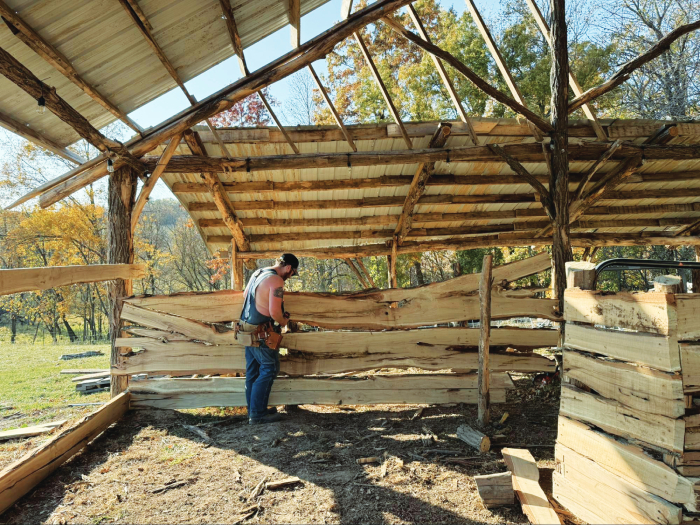
- There’s no perfect barn. There’s no ideal step-by-step guide to build your barn, and there’s no one-size-fits-all barn. Over the past six years, as we developed our management practices and our flock grew, we physically and mentally outgrew the small three-sided sheds we inherited with our property. The spring 2023 lambing season had huge swings in weather conditions, and between blizzards, 80-degree-F temperatures, and thunderstorms, we took on a lot of stress because we didn’t have anywhere safe for the flock. For years, we’d discussed what the perfect barn would do for our sheep and for us as their caretakers. We started to envision exactly what that barn might be. Over the years, those plans continued to change, and, as the barn was built, they changed again and again as we encountered bouts of reality and opportunity.
- Don’t reinvent the wheel. For inspiration on how we wanted our most dreamy barn setup, we didn’t need to look far. Many traditional sheep houses in Iceland are set up in a similar style to the design we ultimately settled on. They have long pens with feeders dividing groups – long chute-style feeders that are set up for a person to walk on and fill with hay from their arms. Look to others who manage similar livestock, both in your climate and elsewhere. There’s no need to reinvent the wheel, and fellow Icelandic sheep farmers have been generous in sharing details of their management and setup.

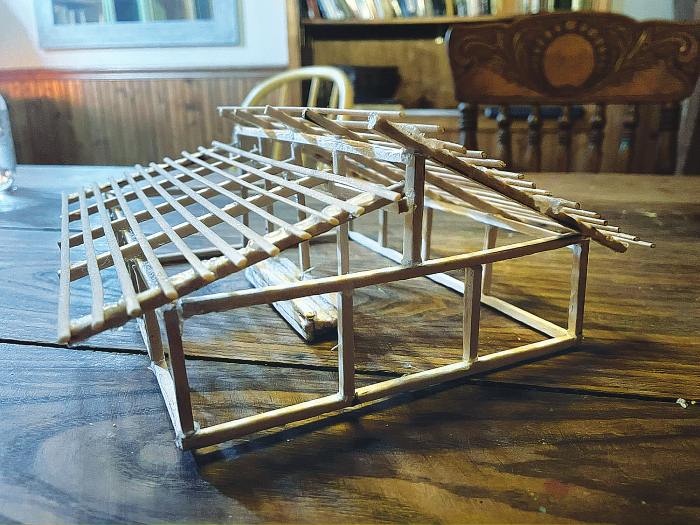
- Start small. Build mini-barns from spaghetti and popsicle sticks hot-glued together. Try different shapes and sizes. Imagine yourself tiny. Don’t worry about the details yet. Once we settled on a basic shape, we could extrapolate about how much of any given material we’d need by measuring the model and scaling that up. Our model shown here is scaled such that 1 inch on the model is 10 feet on the barn. Building the models also helped us understand where potential conflicts might be and visualize more creative or efficient ways to solve the structural challenges. It’s easy to generalize an idea in our heads, but going through the motions of translating that to 3D showed us what would or wouldn’t really work as we’d imagined.
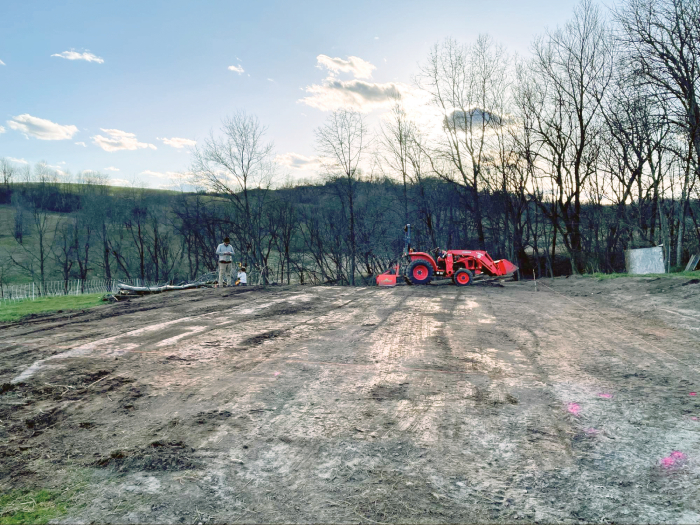
- Dream big. Marking your layout on the ground can help put the size of your barn in perspective, but it won’t tell the whole story. Buildings are way bigger when they’re built. We marked our layout with string lines and batter boards, which helped ensure the layout was level and square. Before building, we marked out various spaces and features on the ground with paint so we could see how they looked in real life and imagine how the animals would flow throughout the design.
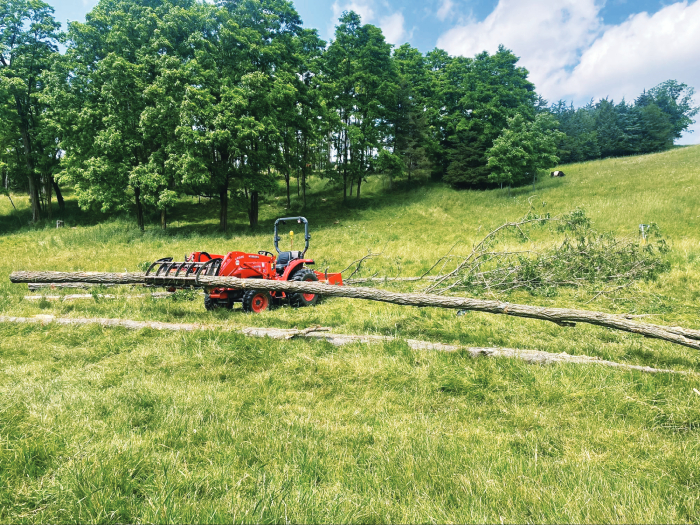
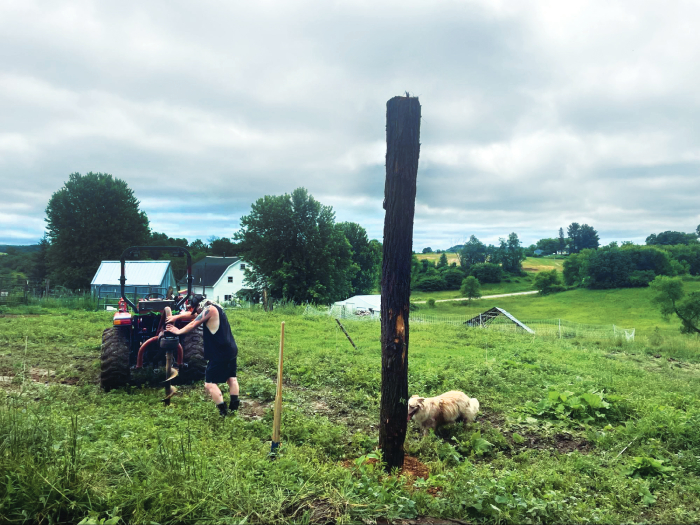
- Nothing lasts forever. Every building will eventually fall, often because the wood has rotted. Anywhere that wood is in sustained contact with soil or water will rot quickly. This especially should be considered for any wood that will be exposed to the hot, wet conditions of the bedding pack. We chose black locust for its excellent rot resistance and tendency to grow straight and tall. We sourced the trees from a friend’s farm about a half-hour’s drive away. This saved considerable money compared with buying wood from the building-supply store. Black locust is hard to work with. It quickly dulls drill bits, breaks fasteners, and is very heavy. However, its rot resistance allowed us to place it directly in the ground, which held the poles up straight while we built. It also cut costs immensely compared with pouring concrete piers. We found that a ship auger drill bit worked well to bore holes, as it has a lead screw that takes on the heavy pulling. We’ve been told it’s best to remove the bark, coat the buried portion with a wood preservative or sealant, put a rock in the hole first, put gravel in the hole first, and other ideas that sounded good. We didn’t do any of those. Nothing lasts forever.
- Get started. Barns aren’t built just by planning. If you can’t afford to hire someone to build your barn for you, you’re going to have to build it yourself. An hour here and an hour there adds up to a finished barn. This is easier said than done, but nothing cool is easy.
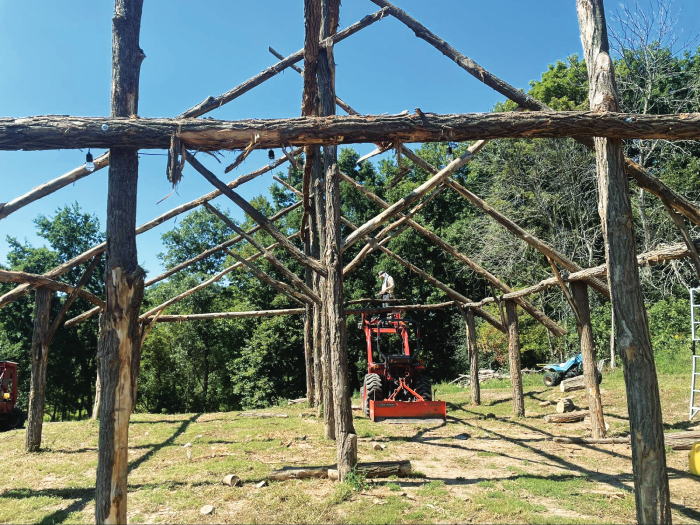
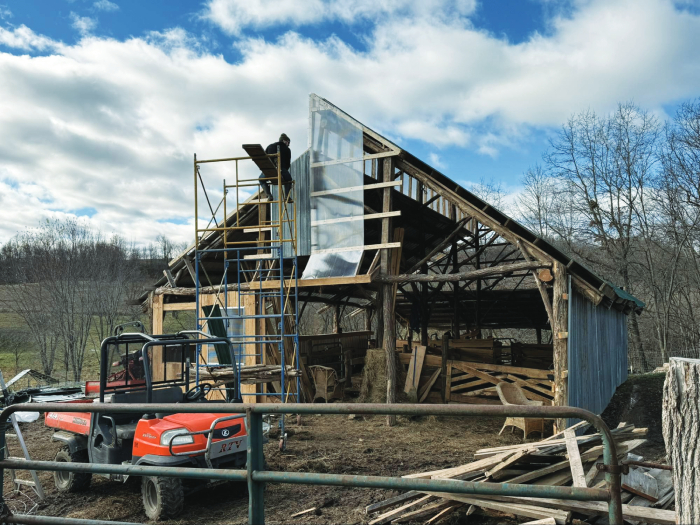
- Make it strong. It snows regularly here, and snow is very heavy. A steep roof will help shed the snow, but sometimes snow is sticky, and sticky snow is the heaviest. Triangles are very strong, so that’s what our roof is: a steep triangle that helps shed snow. Our barn’s structure is bolted together for simplicity and flexibility. When it came to spacing and sizing the timbers and framing, we went with what seemed right and tried to overbuild it where we could. Only time will tell if it’ll resist all snows, and for how long.
- Reduce, reuse, recycle. When you’re on a tight budget, barter and borrow what you can. Our roof’s metal exterior and poplar structural lumber were salvaged from our neighbor’s pole shed, which fell because of snow load. That shed was built with engineered trusses and an architect’s approval but still fell somehow, as ours may too someday. If you’re reusing metal, choose a good-quality roofing sealant to fill any old screw holes or tear-outs. We also made use of an old kitchen island top as a workspace, we used an old truck box side for a pegboard, and we acquired used gates for a song.
- Meet your budget. In terms of cash dollars, we spent about $2,500, most of which was on the trees themselves, the trucking to get them home, and the fasteners used to hold it all together. We bartered with the neighbor for the tin and poplar boards, and the locust lumber was milled by a friend for pennies on the dollar. It’s hard to say what you might spend to recreate this barn from all-new materials, but this layperson’s guess is in the range of $20,000, even if you did all the labor yourself. There’s immense value in getting to know the members of your community and being generous with your own time and resources – it’ll all come back to you and then some.
- Use imperfect wood wisely. Measure never, and keep cutting until it fits. We almost never measure anything. If you cut the board to fit the space, it’ll always be the perfect length. If you can get away with leaving it long and cutting it off later, do that. This is especially important when working with whole trees, which might look straight but are certainly not. We had boards milled from the locust we harvested and used those to make the stalls and bumpers. Crooked logs can still make good boards, especially if you don’t mind the live edges. Finding the right board to fit the space we needed to fill made for very few leftover scraps.
- Finish it. Work on whatever is most interesting. If one task gets frustrating, do something else before you make a bad decision under pressure. The better way to get it done just might come to you. Switch it up if you feel stuck. Stay busy. We built most of this barn on weekends and after work. You can get a lot done in an hour, and the hours add up. Be creative and have fun. Make it up as you go. Take chances.
Building your own barn, or any structure on your land, is about more than just the finished product. It’s a hands-on education in problem-solving and self-reliance. The real value comes from the skills you gain, the challenges you conquer, and the deep satisfaction of knowing you built it yourself, one step at a time.
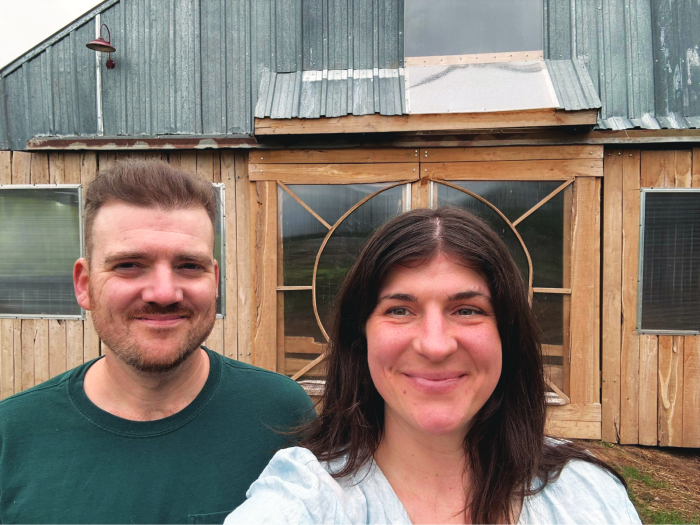
Amanda Caldwell is a lifetime lover of biology and ecology, blending her love for agrarian living with conservation work. She enjoys tending to all the things, from seedlings to children and husband. Ben Caldwell is a lifetime tinkerer, inventor, mechanic, self-taught engineer, and rock hound. He can fix any motor, and he enjoys vehicles with two, three, or four wheels.
Originally published in the October/November 2025 issue of MOTHER EARTH NEWS and regularly vetted for accuracy.