
Photo by Getty Images/v_zaitsev.
Choose potato varieties according to their harvesting times – early, second early (or mid-season), and maincrop (or late).
Early and second early varieties are ready from early to midsummer. Early potatoes tend to be smaller than maincrop types, but they are well-flavored and are often waxy-textured – perfect for potato salads.
Maincrop varieties are higher yielding, and many can be stored for winter use. Harvest maincrops in late summer or early fall.
Prep Your Potatoes
Seed or sprouting tubers are required for planting. Large seed potatoes can be cut into smaller sections, each with at least two ‘eyes’, to increase your stock. Allow the cut to air dry for a day before planting.
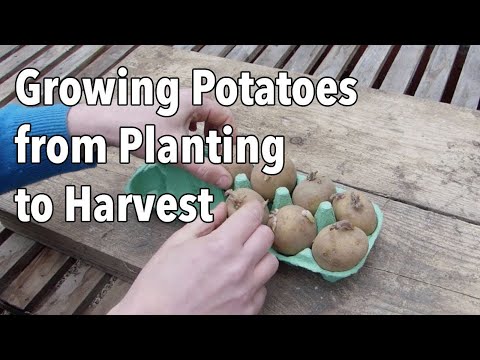
In areas with later Springs it’s worth ‘chitting’, or sprouting, your seed potatoes up to six weeks prior to planting, to give your crop a head start. Place them in a single layer in an egg carton or tray so the ends with most eyes point up.Keep them in a cool, bright place while they sprout stout shoots.
How to Plant Potatoes
Grow potatoes in full sun and fertile, moist but well-drained soil.
First earlies can be planted once the soil has started to warm up in early spring. Plant second earlies a few weeks later, and a couple of weeks after that, in mid-spring. Our Garden Planner can advise the best times to plant in your location, based on data from your local nearest weather station. You can also use the Garden Planner to browse variety descriptions and, of course, to plan your garden so you know exactly how many.
potatoes to grow to fit the area you have.
Plant seed potatoes six inches deep in trenches or individual planting holes. Space tubers a foot apart with a minimum of 18 inches between rows of earlies, or 30 inches between rows of maincrop varieties.
Growing Potatoes
After a few weeks, shoots will emerge. Very light frosts are tolerated, but protect plants with row covers if very cold temperatures are forecast.
Start hilling up your potatoes once the foliage reaches about six inches tall. Hilling helps encourage more potatoes to grow and reduces the risk of light exposure, which turns the tubers green. Draw up the surrounding soil around the plants, leaving just the very tops exposed. Keep hilling in stages until the mounds are either a foot tall or the foliage above has closed over.
Keep potatoes weeded to begin with. The foliage will soon crowd out any competition however. Keep potatoes well-watered in dry weather to produce the best yields and to avoid cracking.
How to Harvest Potatoes
As soon as the plants begin to flower, a couple of months after planting, you can start harvesting tubers small as ‘new’ potatoes. Continue harvesting early varieties as needed, leaving the remaining plants to grow on until required.
Maincrop potatoes are harvested once the foliage has died back in late summer or early fall. Leave the tubers underground for two more weeks. On a dry day dig them up, taking care not to accidentally pierce any of the tubers with the tines of your fork. Brush off loose soil and let the potatoes air dry for a few hours.
Store in a dark, cool, frost-free place.
Get More Tips with These Great Gardening Resources
Our popular Vegetable Garden Planner can help you map out your garden design, space crops, know when to plant which crops in your exact location, and much more.
Need crop-specific growing information? Browse our Crops at a Glance Guide for advice on planting and caring for dozens of garden crops.
More Videos
Watch more videos on gardening techniques and other self-reliance, DIY topics on our Wiser Living Videos page.


