Celebrate special occasions with cupcake-shaped candles using a silicone cupcake candle mold for a celebratory, vanilla-scented, soy-wax candle.
Cupcakes are a great way to celebrate any occasion. These candles are gently scented with vanilla essential oil, but feel free to use any scent you desire or leave them unscented.
Yields 6 cupcake candles.
Materials
- 2 teaspoons (10 ml) vanilla essential oil

Tools
- Adhesive wax
- Candle thermometer
- Double boiler
- Glass measuring cups: 4-cup (960 ml) (2)
- Kitchen towel
- Metal cupcake pan
- Paper towel
- Paring knife
- Pliers
- Scissors
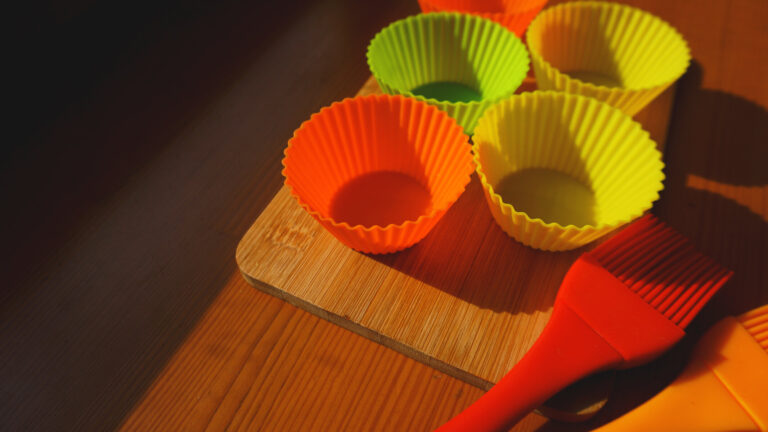
- Silicone baking cups (6)
- Wooden toothpicks or plastic
- cocktail stirrers (6)
Instructions for Making Cupcake-Shaped Candles
- Prepare the mold. Thread a piece of wick through the wick tab and clamp the tab closed with the pliers. Note: Make sure the wick is long enough to wrap around the toothpick or stirrer at the top of the baking cup.
- Place a dab of adhesive wax on the bottom of the wick tab, then press the tab in place in the center of the baking cup.
- Wrap the top of the wick around the toothpick or cocktail stirrer, and set it across the top of the baking cup, centering the wick in the baking cup. Place the baking cup into the cupcake pan. Repeat with the remaining baking cups. Note: Placing the baking cups into the cupcake pan will help hold the shape of the candles.
- Melt the wax flakes. Clip the thermometer onto the double boiler. Melt the wax flakes until the temperature reaches about 160 degrees F (71 C); remove from heat. Stir in the essential oil, then pour a quarter of the wax into a glass measuring cup and set it aside. Note: Carefully wipe the bottom of the pan with a kitchen towel before pouring the wax into the glass to prevent any water from dripping into the wax.
- Pour the remaining wax into the second measuring cup. Using the paring knife, trim thin shavings of peach wax coloring and mix them into the remaining glass of wax until the desired shade is reached (use more for a deeper shade, less for a paler shade). Stir thoroughly to blend the coloring evenly.
- Pour and finish the candles. Pour the wax into the baking cups, filling them about three-quarters full. Allow the wax to completely cool.
- Once the wax has cooled, reheat the uncolored wax. You can do this by placing the measuring cup in a pan of water, then heating the water until the wax is melted. Remove the measuring glass from the pan of water. Note: Add water to the pan as needed.
- Stir the wax occasionally as it cools. Once the wax begins to thicken, pour it on top of the wax in the baking cups, leaving at least 1/4-inch (.6 cm) between the top of the wax and the edge of the baking cups.
- Once the candles have completely cooled, remove the toothpicks or cocktail stirrers and, using the scissors, trim the excess wick at the top of the candles. Remove the baking cups from the cupcake pan, then remove the baking cups from the candles.

Read the original article, “How to Make a Candle: Melting Wax.” Learn more about How to Make Snow Candles and hear from others about the basics of starting a candle-making business.


