I love to dip candles in wintertime. Candles are a beautiful and universal symbol for the winter season and a functional art. My family likes making things for ourselves, and we especially like making it from the source. Homegrown from the start inspires us deeply. So this year’s candles were especially special, dipped from our own bees’ wax.
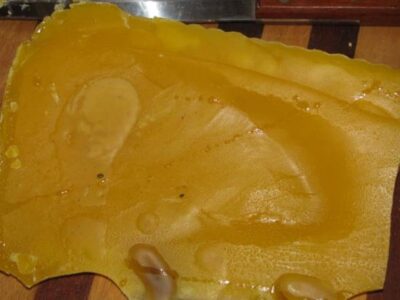
See the honey on the beeswax? It makes the candles smell even sweeter.
It was a year-long project to refine the beeswax. I adventured in the art of refining lumps of dirty beeswax from February through August. I had dirty lumps of beeswax on the counter and in two different freezers, and one in the back of the fridge. It felt good to collect them (most of them?) and melt ’em down and clean ’em up into usable beeswax. I will write a post with the refining details later, for those of you with dirty lumps of beeswax in your freezer(s). This month, we brought out the block of refined beeswax and melted it down to dip candles.
How to dip candles
You have to use a double boiler when melting wax, so the wax won’t get too hot. My wax is in a tall bean can that I cleaned out well. I set the can of wax into a pot of water, and heated it up on medium. The can might try to float — just spill water out from the pot until it’s the right proportion for the weight of your wax, so your can doesn’t float. I use a chopstick as a stirrer and keep it with my supplies. I picked up a couple extra pots at Goodwill to use as designated wax pots. Even though the pot only contains water, it gets waxy. You don’t want this to be your pasta pot.
When you are done, you might still have wax in your can o’ wax. Just let it cool and harden in the can, and store the can o’ wax with your candle-making supplies. It’ll be ready for next time.
A word on wicks: I had a spool of wicking thread that DIDN’T WORK! I have no idea why, but those candles always went right out. I used two other kinds of wicking, and sure enough, they worked fine. Test your first candle before you make a bunch.
Dip Tips
I tied wicking onto chopsticks and dipped once. The wicking shouldn’t be longer than the depth of the can. Let the first dip cool for a half minute and then straighten it out with a gentle tug. Patience is the key to dipping candles — you need to let the layer of wax cool and harden before dipping another layer onto your candle. If you are impatient, it will melt your last layer and you will be going in reverse instead of forward. Wax will be melting off with each dip.
Here’s a great way to give kids patience: give them something to do. Swirl a yarn about on the floor that they need to walk along until it leads them back to the pot for their next dip. With my kids, I said, go show Daddy your candle. They walked across the room and showed Phil their candles, for about three dips until they realized my trick. It is difficult to wait long enough between dips without something like this to do, though. Newspapers on the floor near the stove will help with the initial wax drips. When the kids tired of the project and went to something else, I could hog the wax pot. I kept busy by working three sticks at once (two wicks on each), so that’s 6 candles. Dip #1, set it to hang, Dip #2, set it to hang, Dip #3, set it to hang. Now #1 is ready for dipping again, and you are an official one-person dipping factory.
We poured some wax into little votive tins. Those tins could win over the lazy or the efficient, who don’t want to dip and dip. Melt wax and pour and you’re done!
Dipping candles is relaxing work and the layers add up faster than it seems they should. I think I will keep some of these little ones around for birthday candles. Keep dipping and you could have a nice set of thick, hand-dipped tapers for your home or for a great gift.
Ilene White Freedman operates House in the Woods Farm and CSA with her husband, Phil, in Frederick, Maryland. She blogs about making things from scratch, putting up the harvest, gardening and farm life at http://blog.houseinthewoods.com. For more about the farm, go to http://www.houseinthewoods.com.


